
What you need
Slopesmith is the browser editor in the OpenSlope project. A small server runs on your computer and stores your mountains; you use the editor in your browser.
- Node.js 24 to run the editor’s local server.
- Git to download the OpenSlope repository.
- A modern desktop browser for your first editing session.
Original authoring does not require SSX Tricky, Blender, or the .NET SDK. Those belong to optional import, modeling, and export workflows.
Already have OpenSlope? Use your existing checkout. Open a terminal in its Slopesmith directory and start at npm ci below.
01. Start the editor
In PowerShell or your terminal, run each command in order:
git clone https://github.com/swax/OpenSlope.git
cd OpenSlope/Slopesmith
npm ci
npm run dev
Wait for the server to print its local address, normally http://localhost:5179, then open it in your browser. Leave the terminal running while you work.
The first install downloads the editor’s dependencies. For later sessions, return to the same directory and run npm run dev. Press Ctrl+C in the terminal when you are finished.
If it doesn’t start: check node --version reports version 24. Run npm ci from OpenSlope/Slopesmith, not the repository root. If the usual port is busy, use the address printed by the server.
02. Build one good line
Create or open a mountain from the editor’s File menu. A mountain is your editable project; a map is the portable folder you can export from it.
For a first course, keep the idea small: a downhill approach, one broad turn, and a jump with a forgiving landing. It’s easier to learn from one complete section than a huge unfinished mountain.
- Shape the terrain. Use Edit and Sculpt to establish the slope and curve. Give the rider room to enter and leave each feature.
- Paint the surfaces. Make the rideable route easy to read. Use clear material boundaries where the line changes.
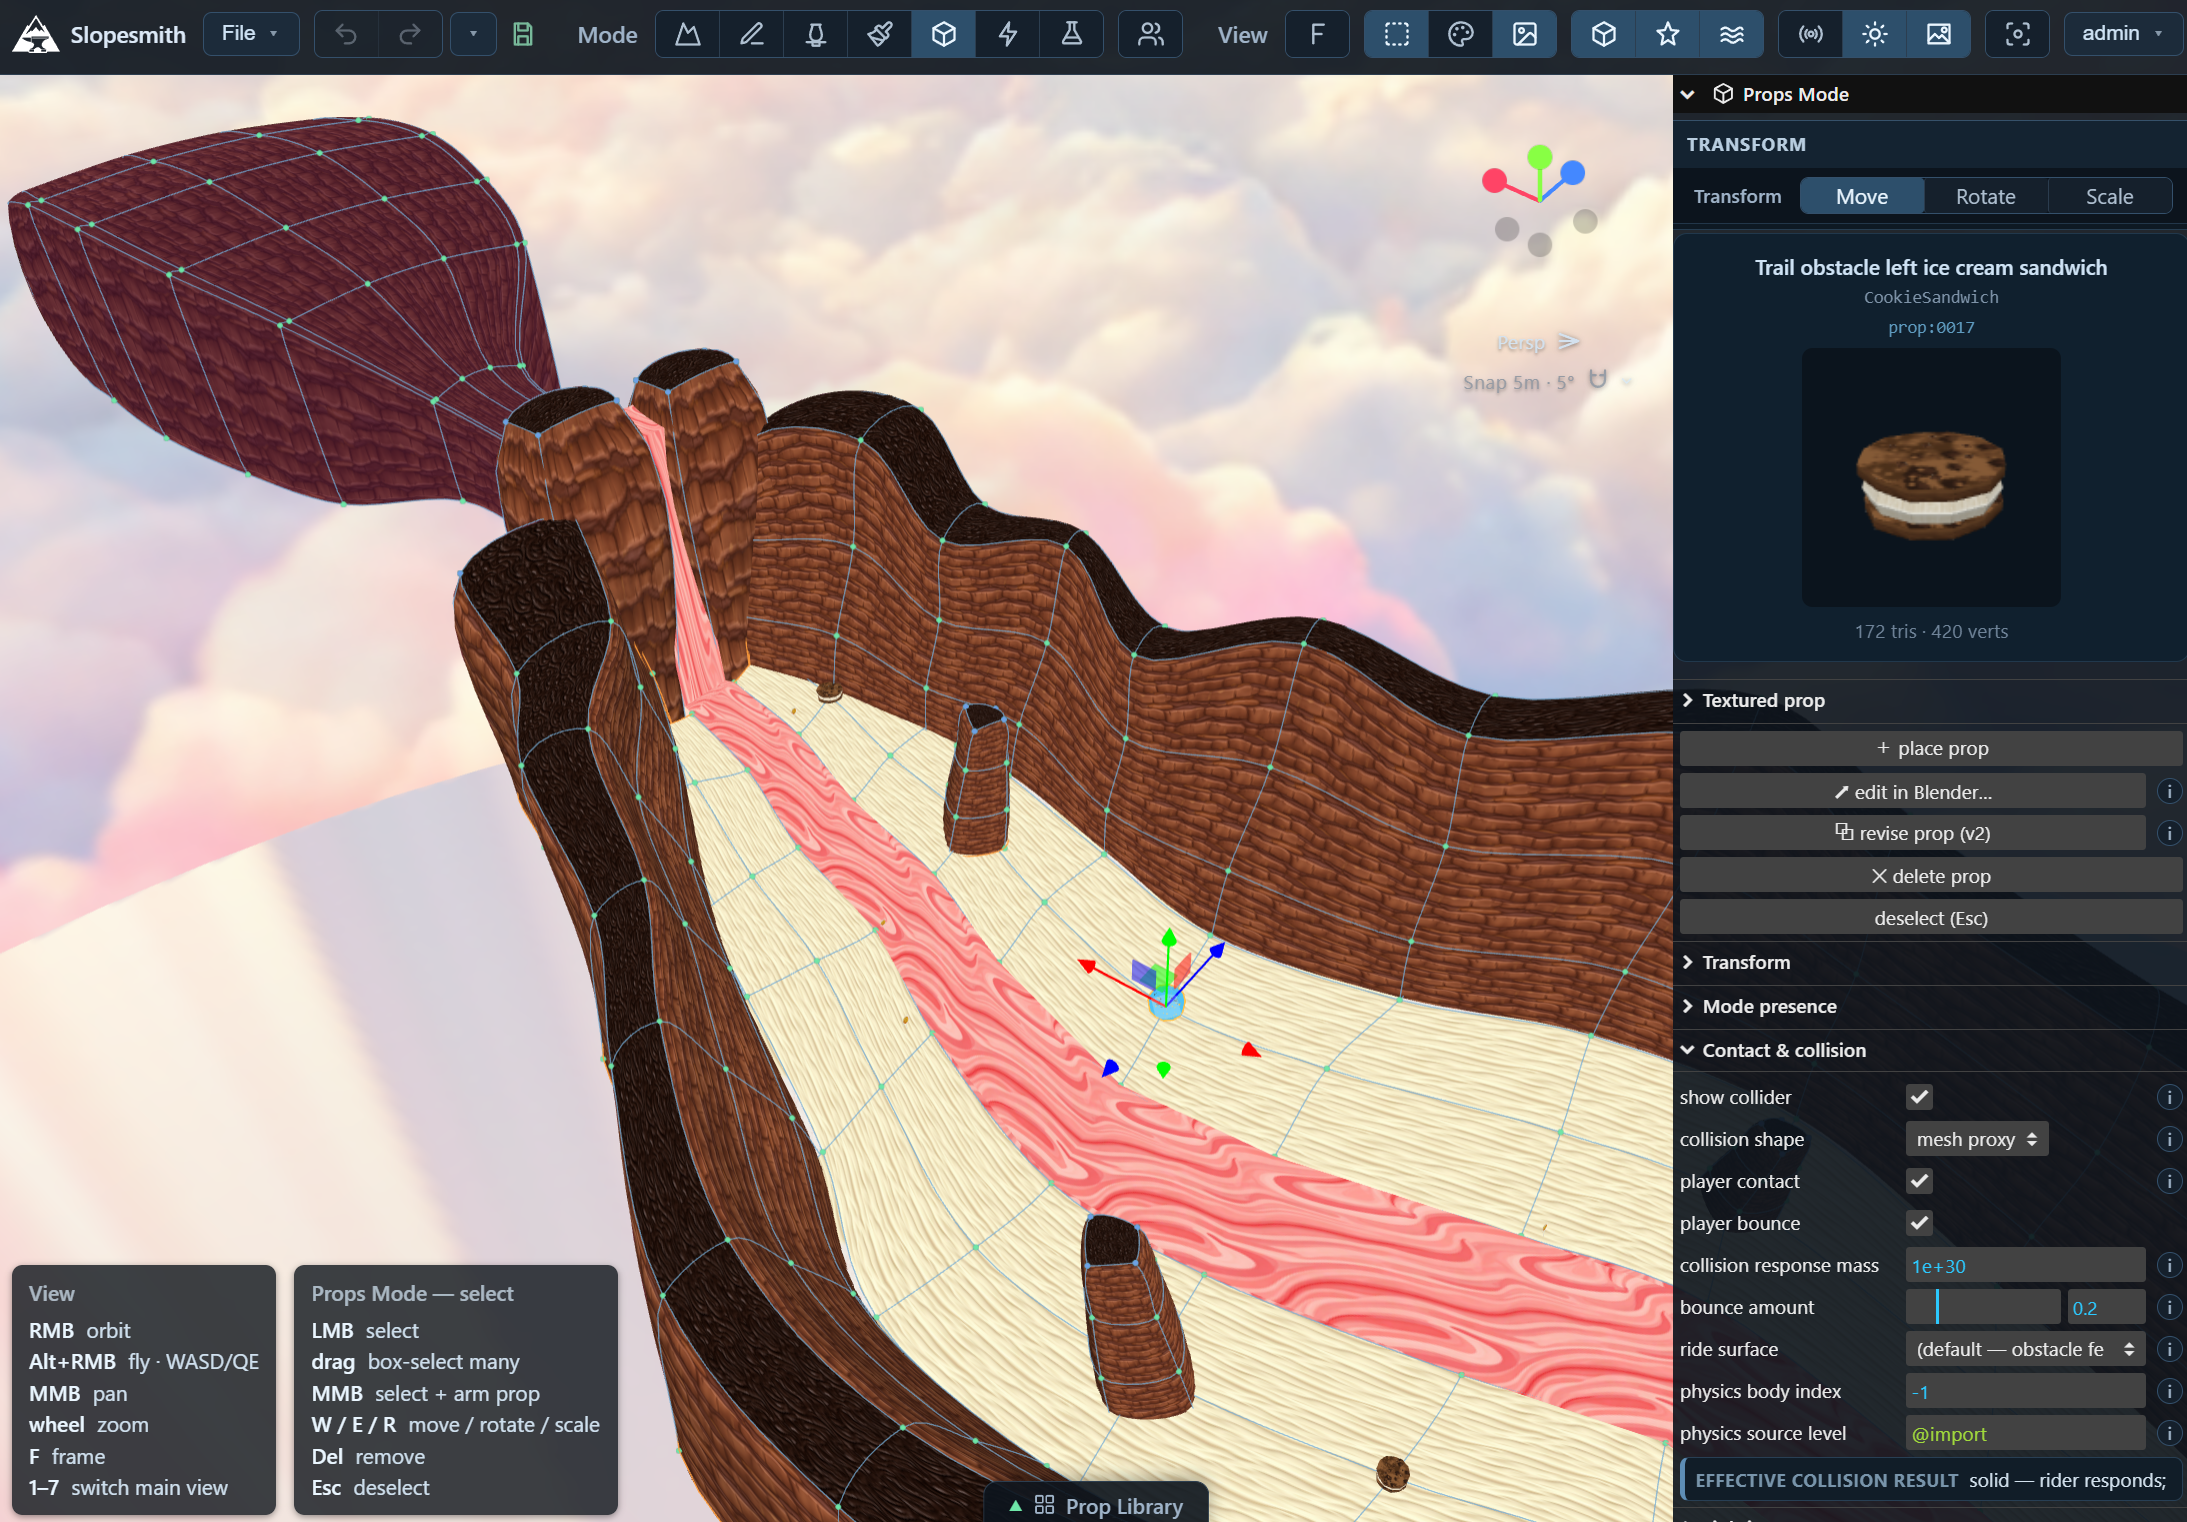
- Add a few props. A rail, a landmark, or a row of objects can help you judge scale and speed. Leave the route readable.
- Save your project. Use the editor’s save control before testing a bigger change.
For a deeper look at route design, see the course-authoring documentation.
03. Ride, adjust, repeat
Switch to Test mode using the flask icon. Choose your mountain as the ride target and start a run with Play. You can test right inside the editor without exporting.
On a keyboard, the basic riding controls are:
- A / D: carve left and right.
- W / S: tuck and brake.
- Space: ollie; hold to charge.
- Shift: boost.
- R: respawn. P: pause.
Pay attention to the transitions. Can you read the turn at speed? Does the jump land on a slope that carries your momentum? Stop the run, adjust one thing, then ride again.
Slopesmith’s riding is an independent implementation with its own riders and features. Playing your exported course with the original SSX Tricky characters and game rules is a separate repacking workflow. The full riding guide covers modes, controllers, and VR.
04. Choose your next direction
When the first line works, extend it. Add a second route, a rail, lights, or weather, and keep testing as the course grows.
- Ride with friends: follow the private server guide for accounts, HTTPS, and shared projects. The local development server is for your own computer.
- Explore a retail course: follow the import-to-browser guide, using your own permitted PS2 disc image. Imported content stays local.
- Get help: join the OpenSlope Discord and show what you are building.