
Start with the surface, not the detail.
Slopesmith builds terrain from connected Bézier patches: smooth four-sided surfaces controlled by corners and handles. The wire lines show the patch boundaries, not a set of flat polygons.
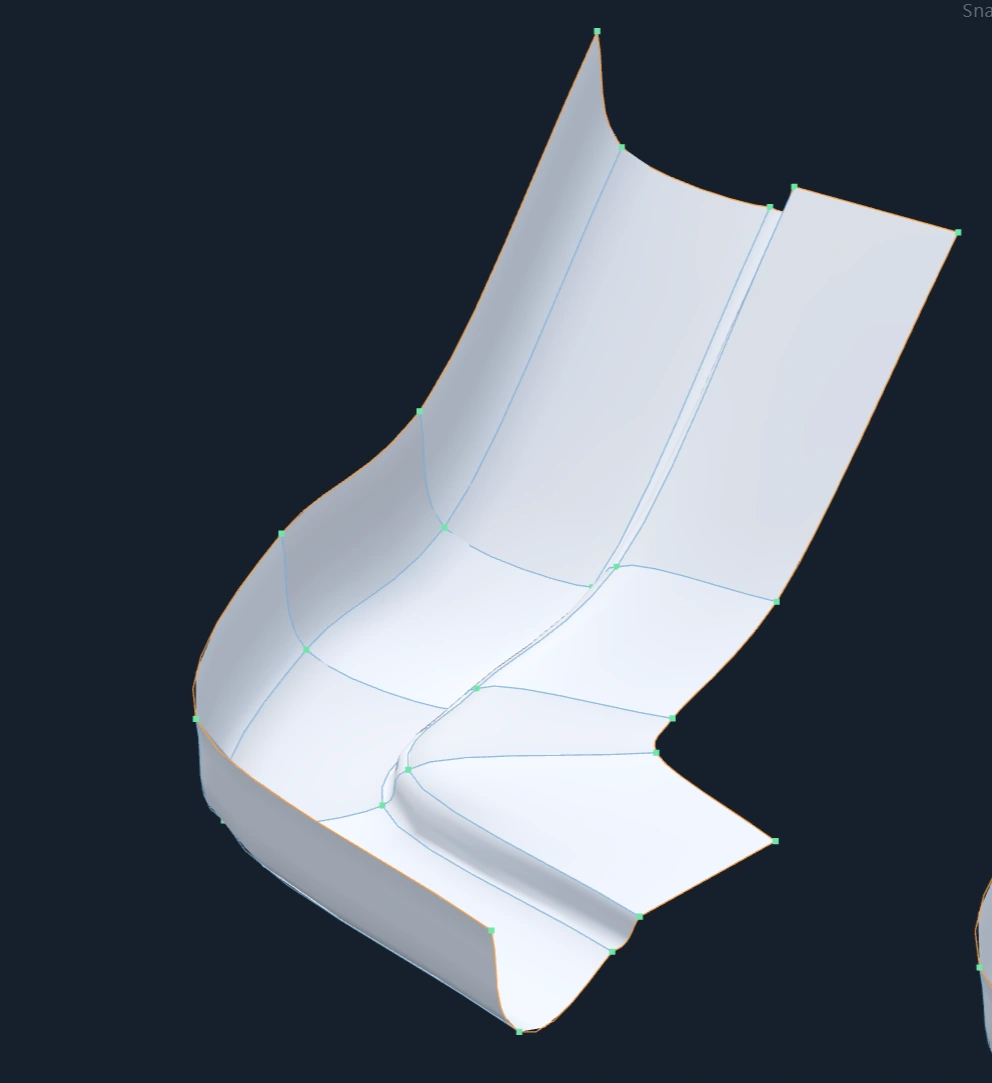
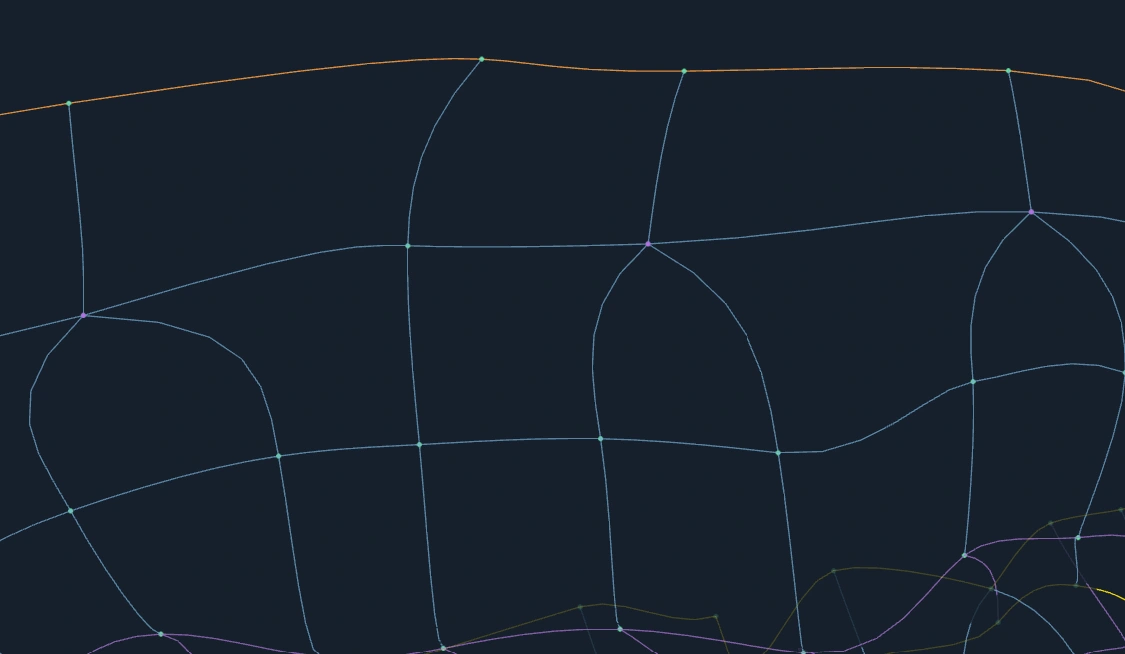
A small set of well-placed patches can describe a banked turn or a bowl. Add more control only where the existing layout cannot describe the shape you want.
Three different things: the course line describes a route, a trail generates a ribbon along paths, and the terrain patches form the actual surface. Course-line edits alone do not rebuild terrain.
01. Choose the part you want to change.
In Edit, choose Point, Edge, or Patch selection. Select the feature in the viewport, then use the move, rotate, or scale controls. Read the tool panel to confirm what is selected before making a larger change.
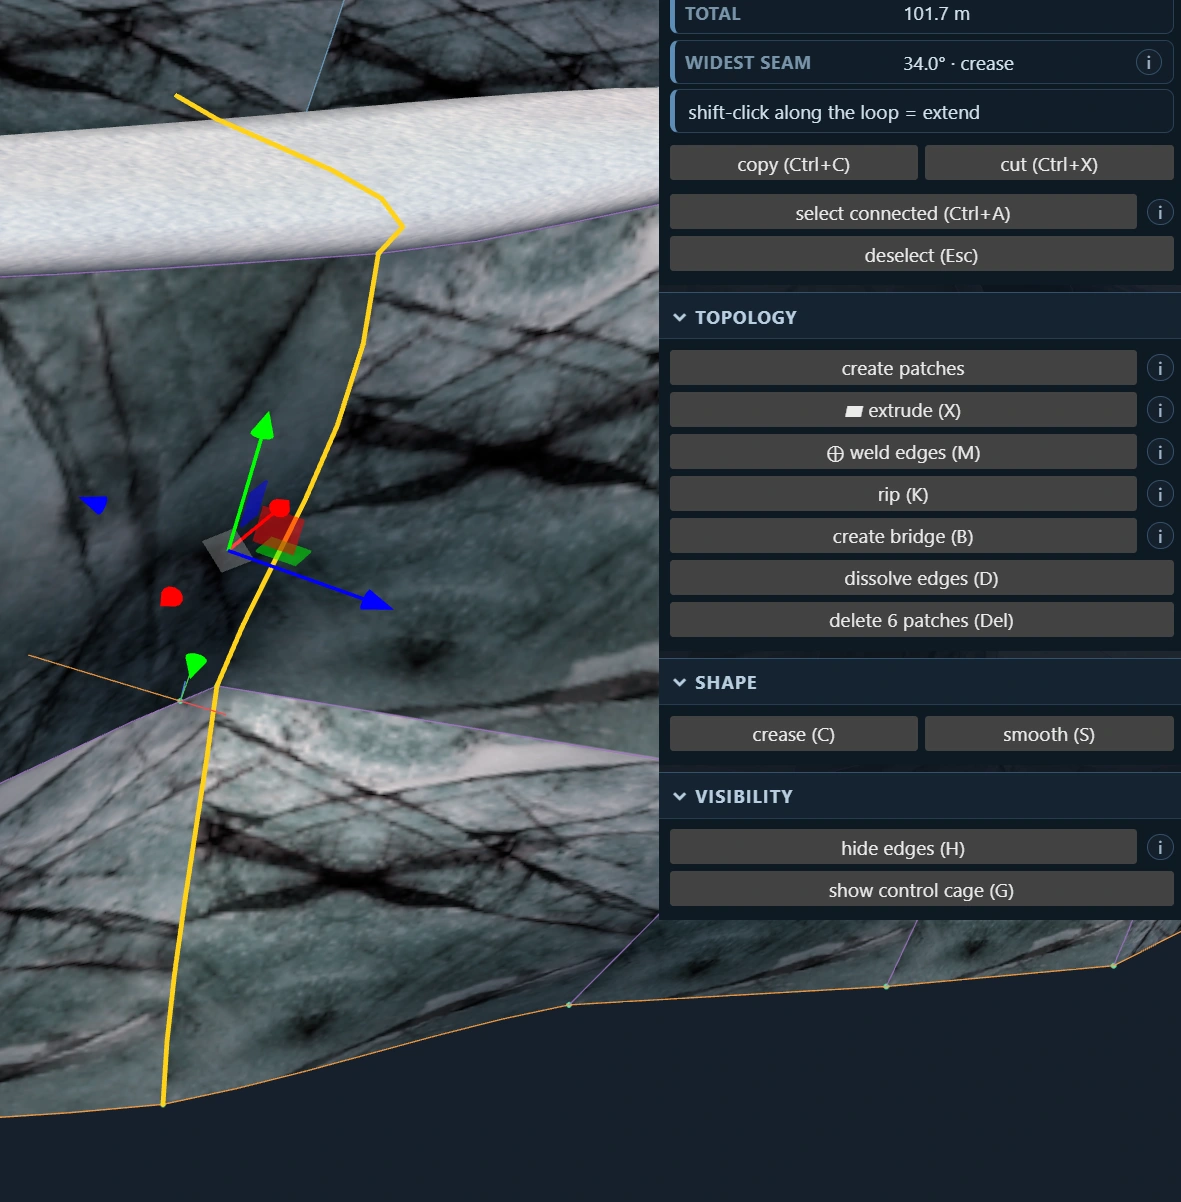
- Move corners to adjust the broad layout and elevation.
- Select edges when you want to work along a rim, seam, or connected boundary.
- Select patches to work with a region of the surface.
- Crease or smooth a seam to change how its neighboring surfaces meet.
Use Loop cut when you need another row of controls. In Edit mode, Ctrl+R arms that tool; review its preview before committing and use Esc to leave it. Adding a loop gives you more places to edit, but does not by itself create a new landform.
Try this: make one broad bank first. Add a local loop only if you cannot shape its entry or lip with the controls you already have.
02. Pull the surface beyond its corners.
The control cage exposes the handles that influence the shape inside each patch. Use Show control cage on a selection, or the G shortcut where indicated by the panel.
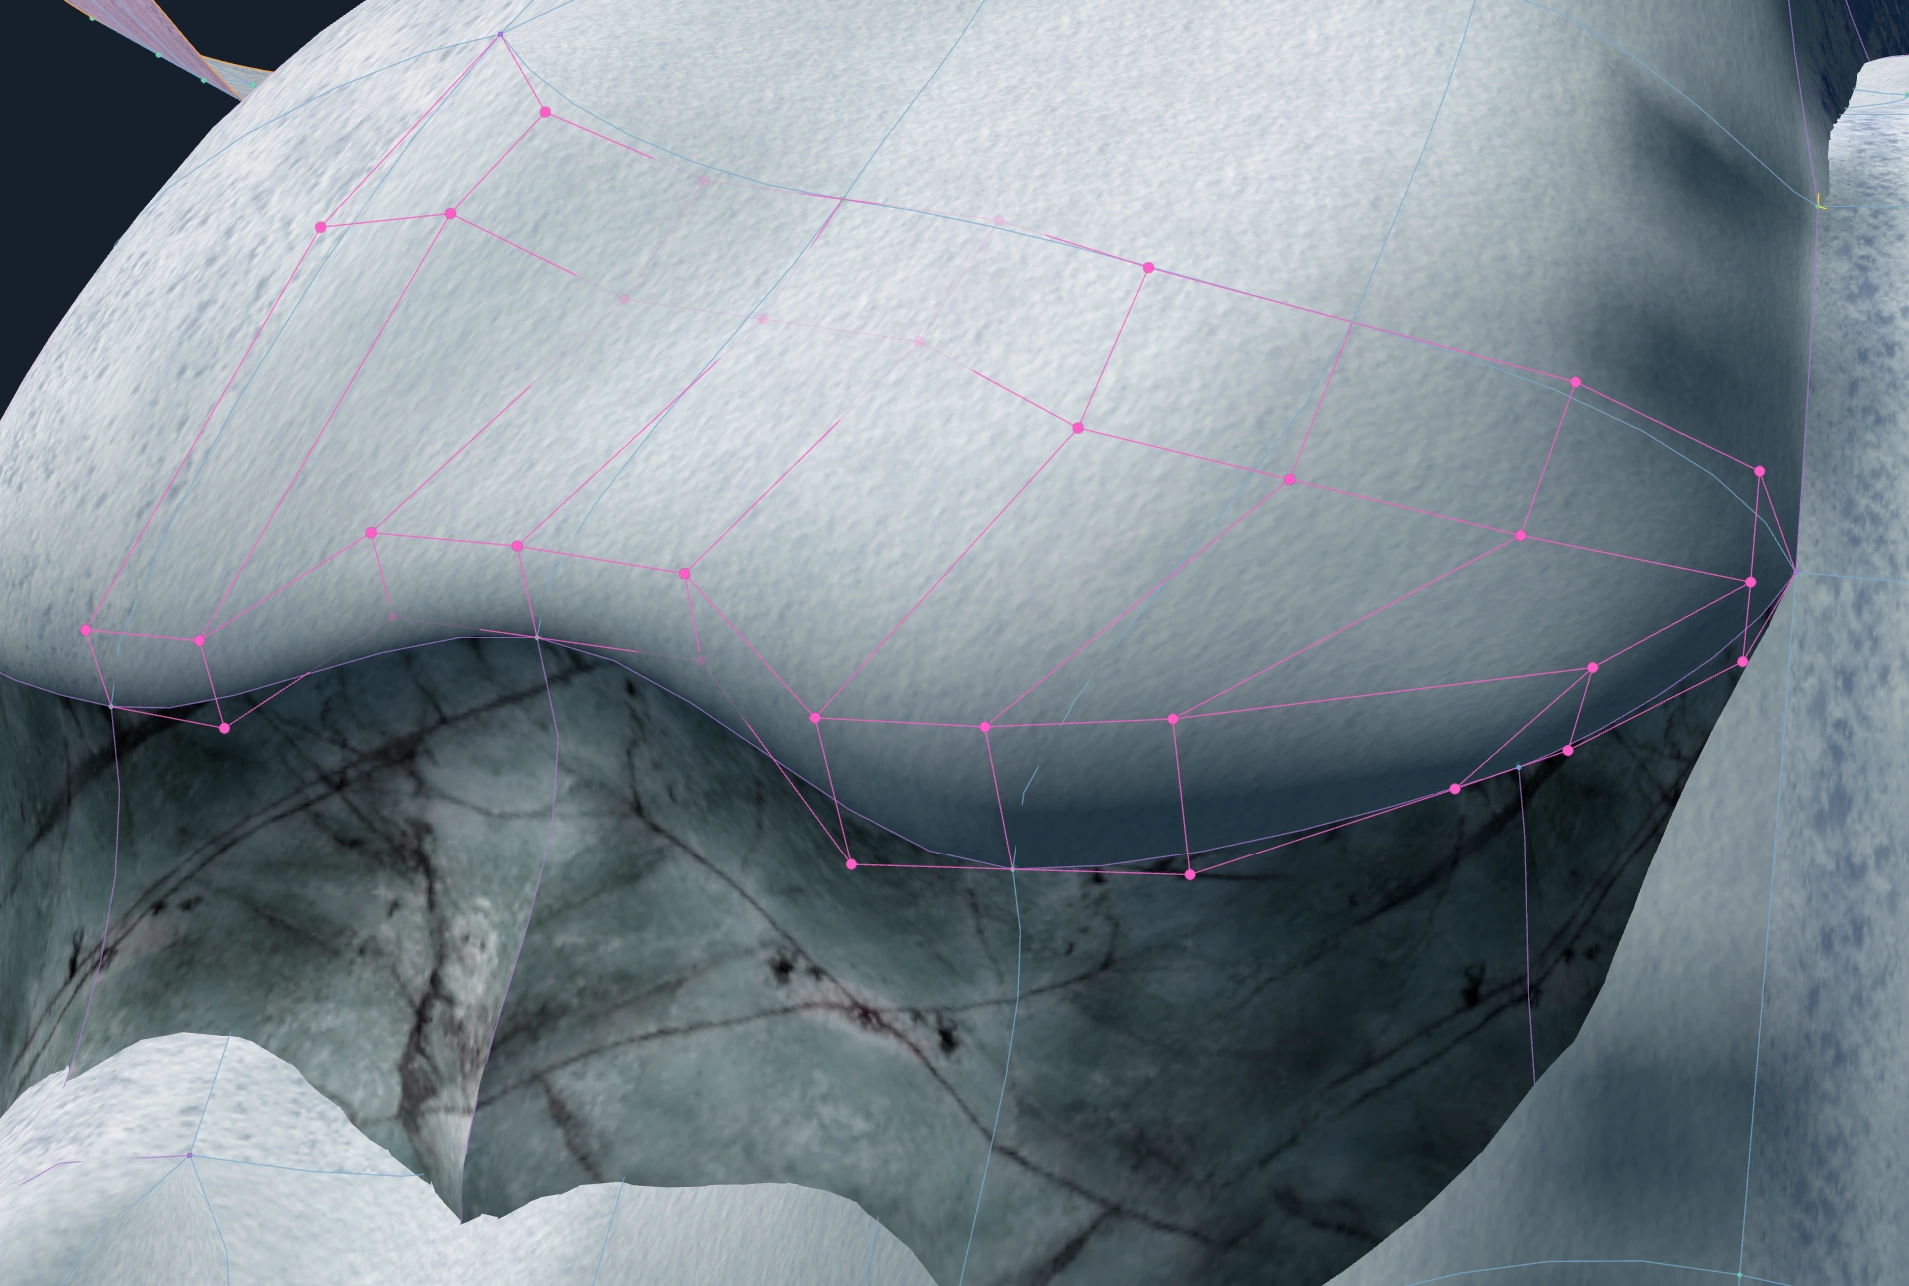
This is useful for a rounded snow lip, an overhang, or a deliberate crease. Work from several angles: a curve that looks smooth from above may fold back on itself at the side.
Start with a small selection and test the result. The surface and control-cage reference explains the handles and selection rules.
03. Draw a trail with its own shape.
With nothing selected in Edit, open Create Terrain → Create Trail. Place points to describe a path; a preview shows the ribbon as you draw. Finish with Enter or Esc, then select the trail to adjust it.
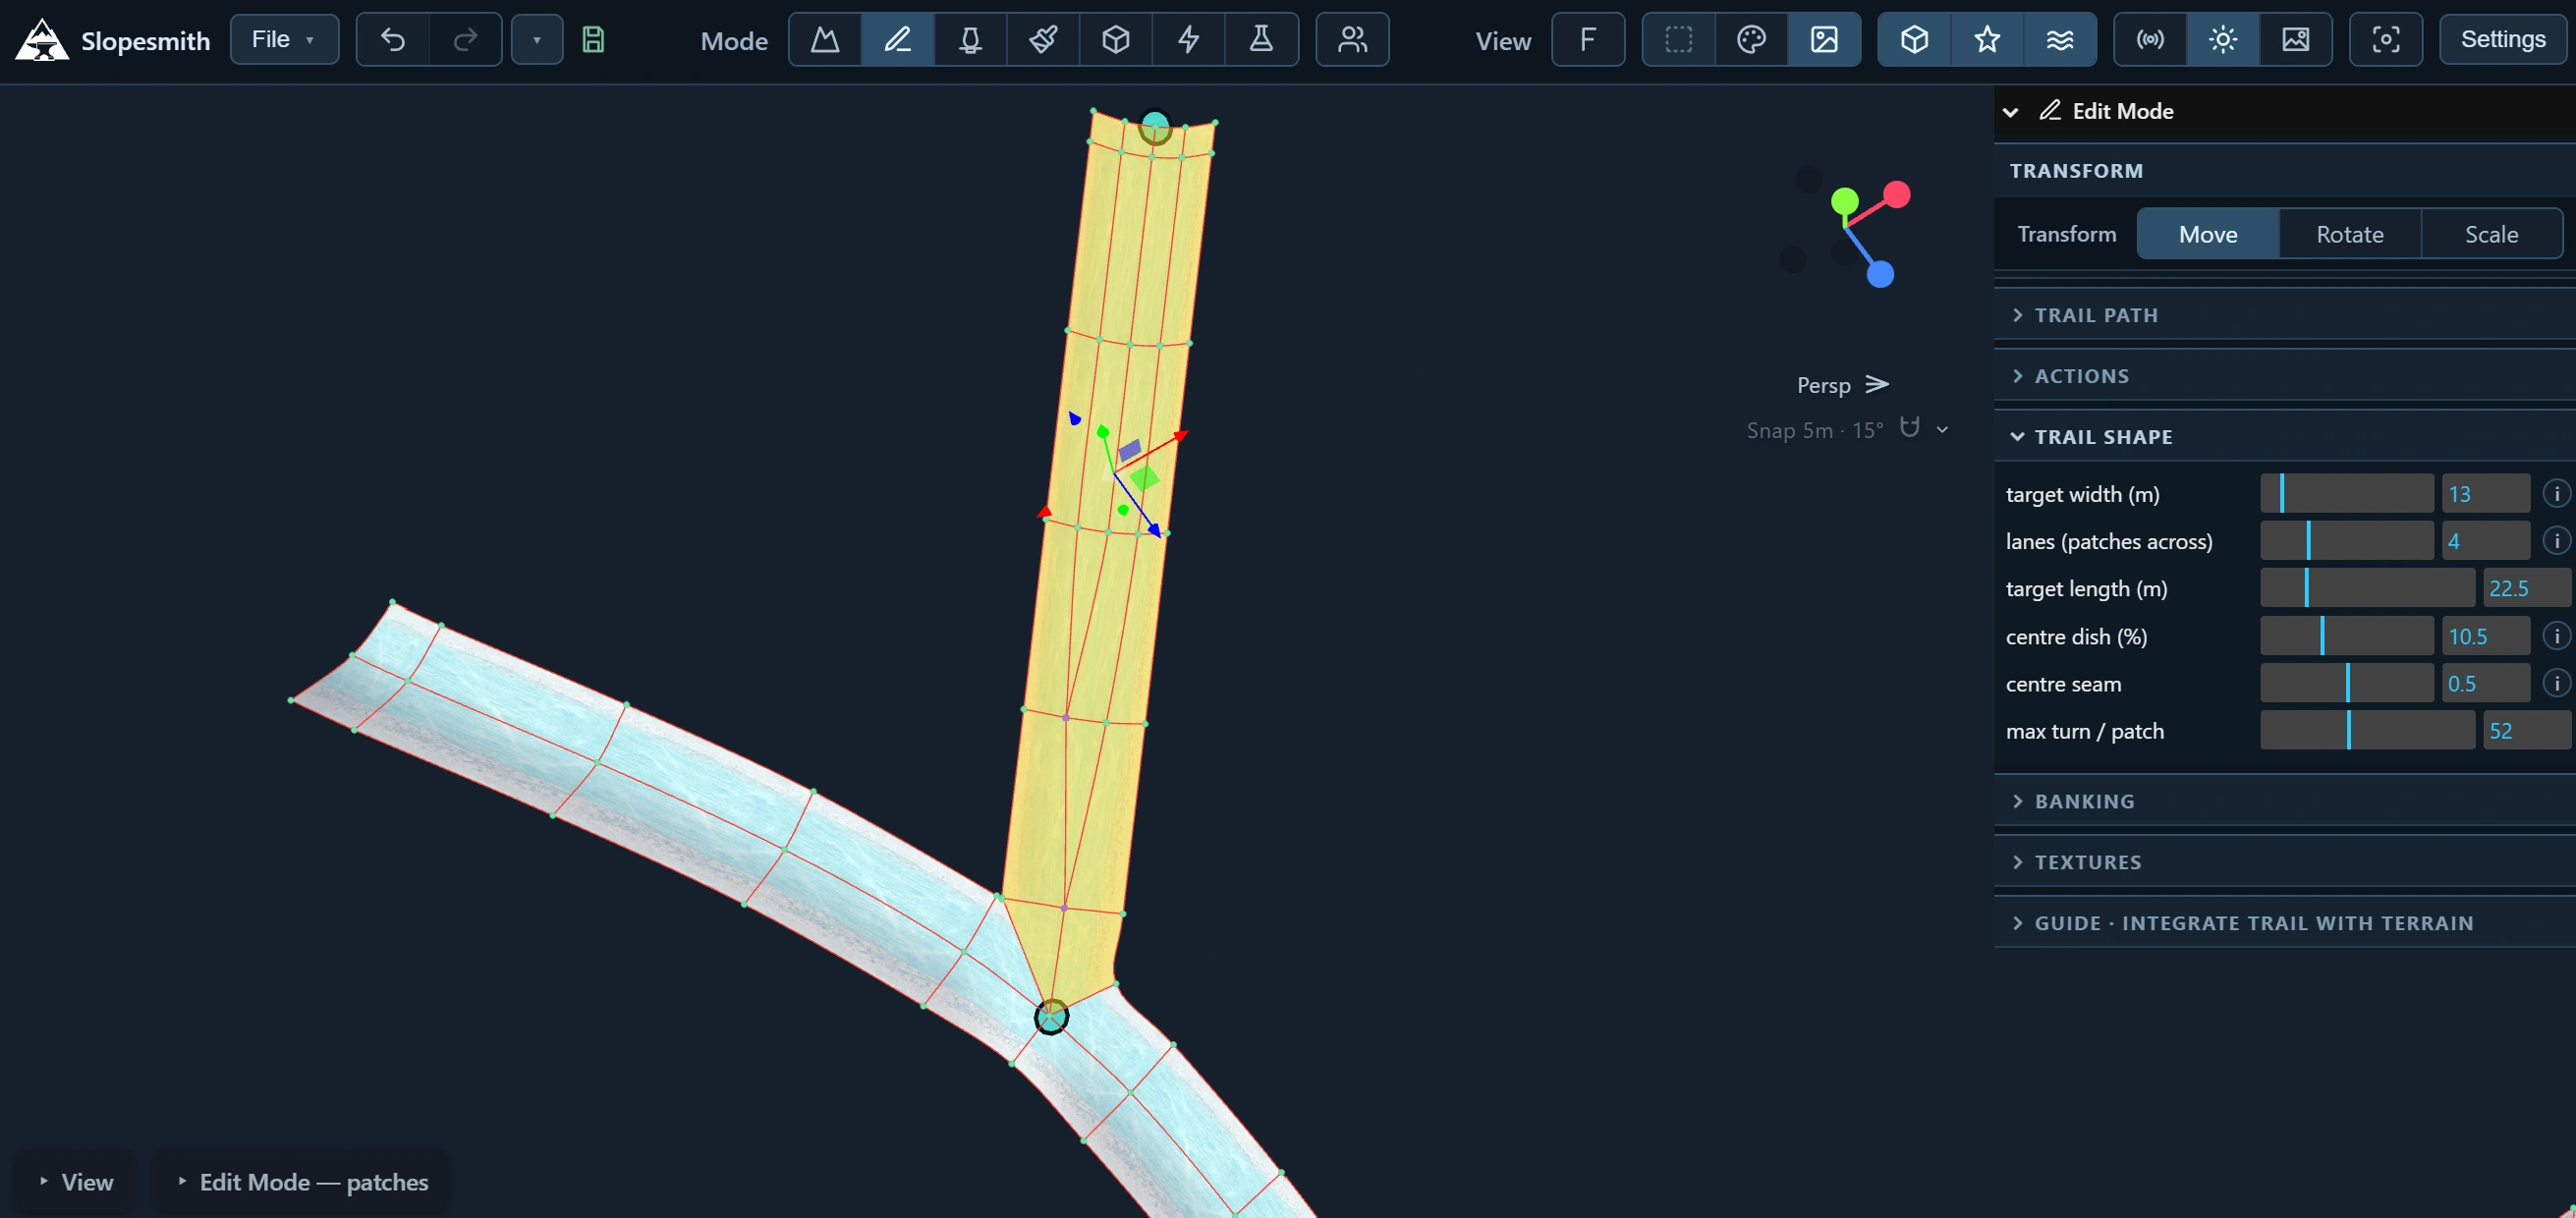
The Trail Shape controls determine its width, the number of patches across it, and the center dish. Banking shapes the turn. Begin with generous corners and a clear landing before trying a tight switchback.
Paths sharing a point can form splits, merges, or crossings. The editor previews the connection and reports when a proposed shape cannot be built. After joining paths, inspect the junction from above and from riding height.
04. Connect the trail to its surroundings.
A ribbon is only part of a mountain. Decide how its outer edges meet the banks, cliffs, and neighboring terrain.
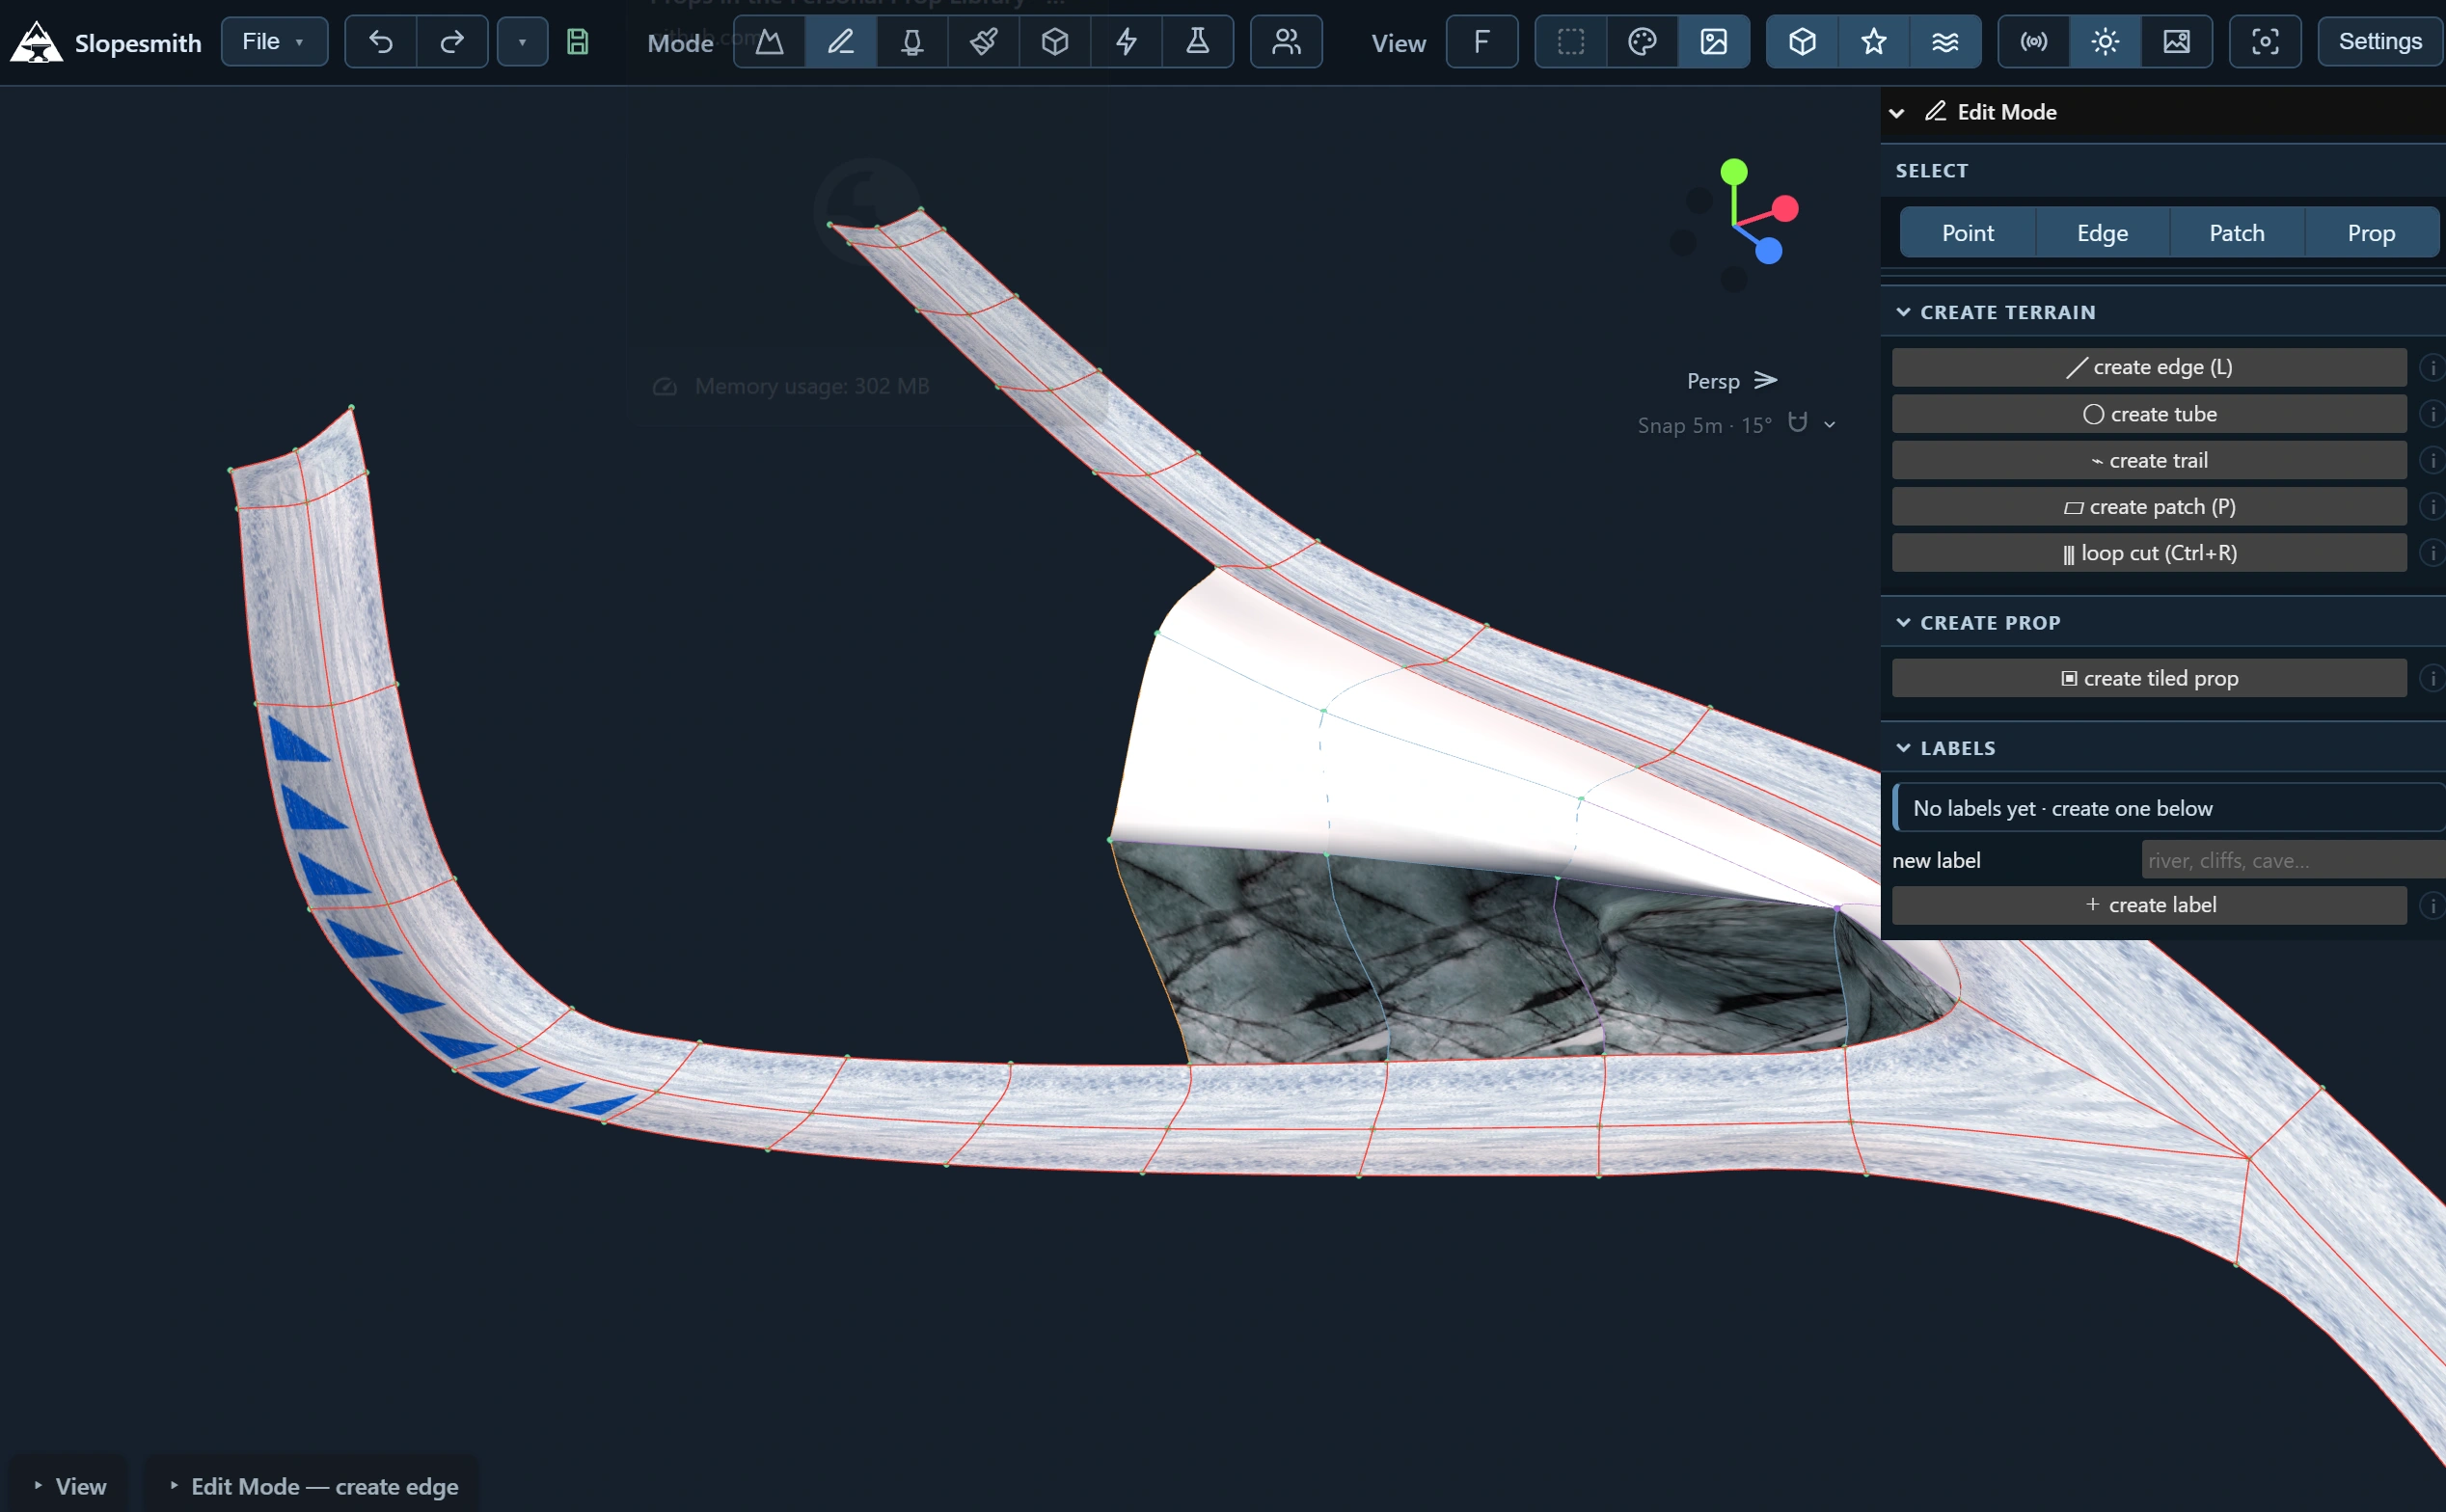
Use the appropriate edge operations to weld compatible boundaries, build a bridge between them, or extend a surface. Inspect the join for gaps, doubled surfaces, and sudden changes of slope. The available action depends on the selected topology.
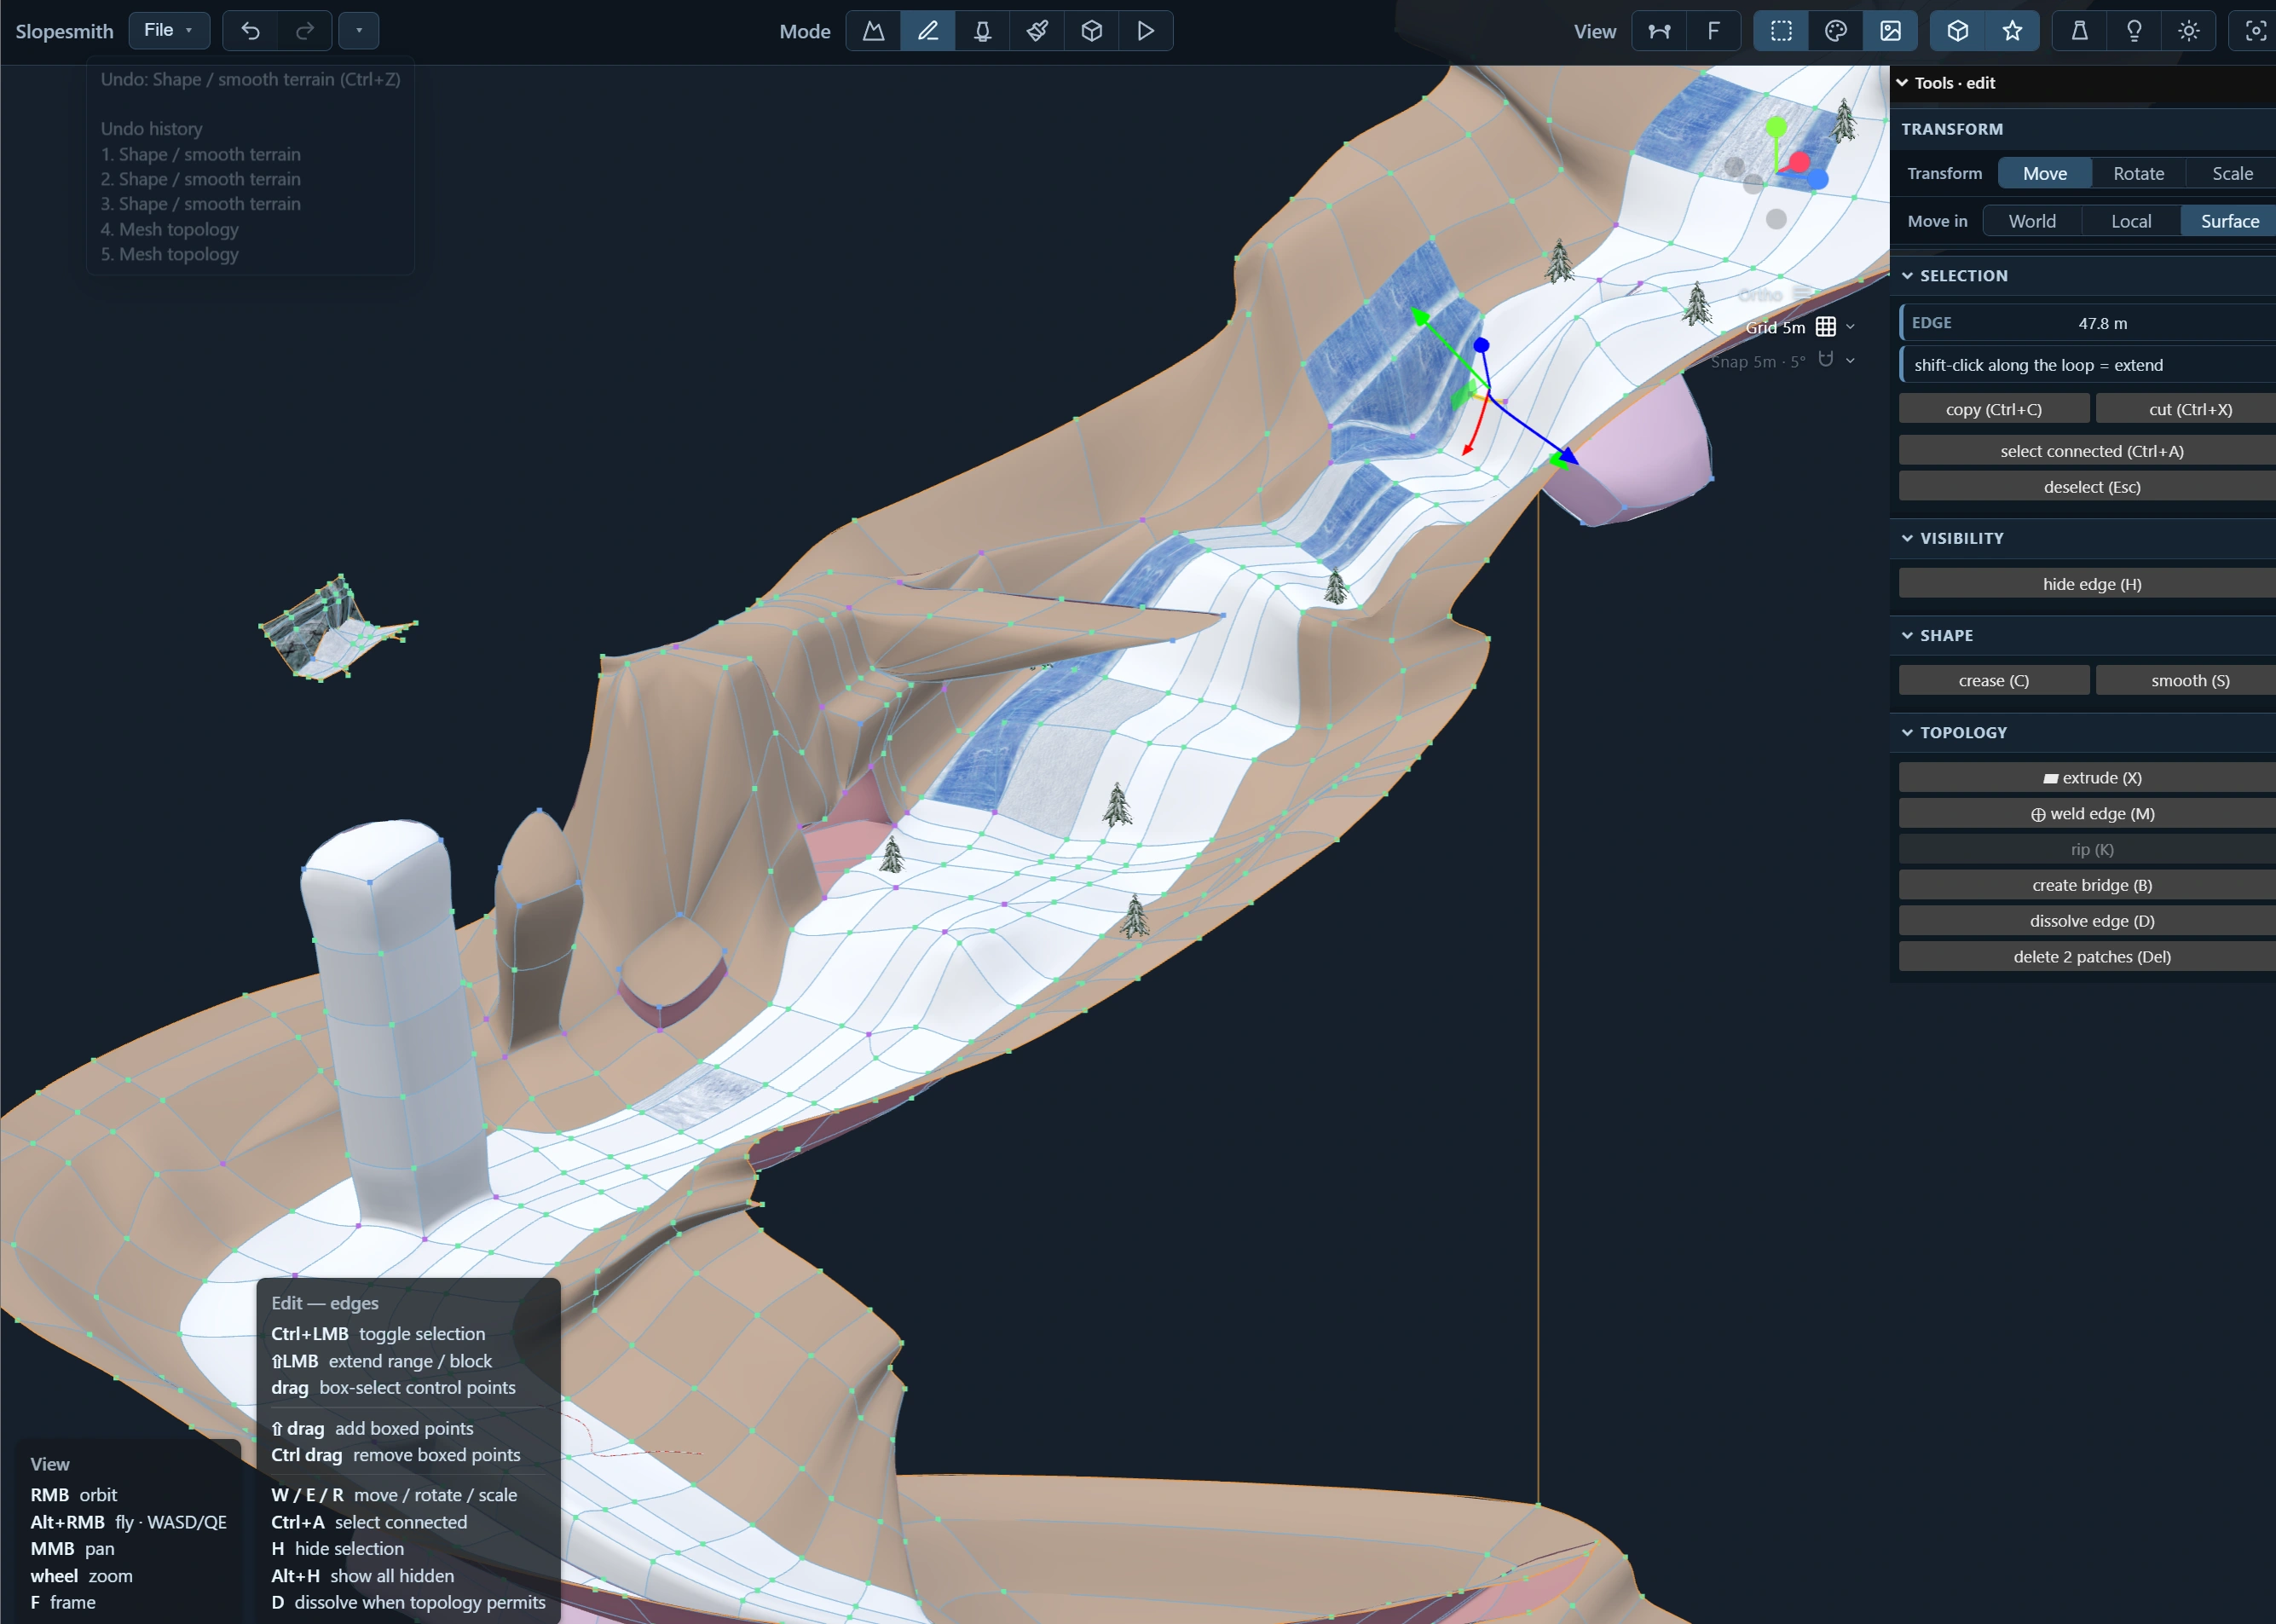
Build in passes: the main route first, then the landforms that define it, then local details. A projecting rock face, recovery shelf, or snow pocket changes the course more than simply subdividing every patch.
For specific operations, see topology editing and trail construction and integration.
05. Read the prediction, then ride.
Predicted-speed shading helps identify slow sections and airborne transitions before a full run. Read its legend and any warnings alongside the colors.
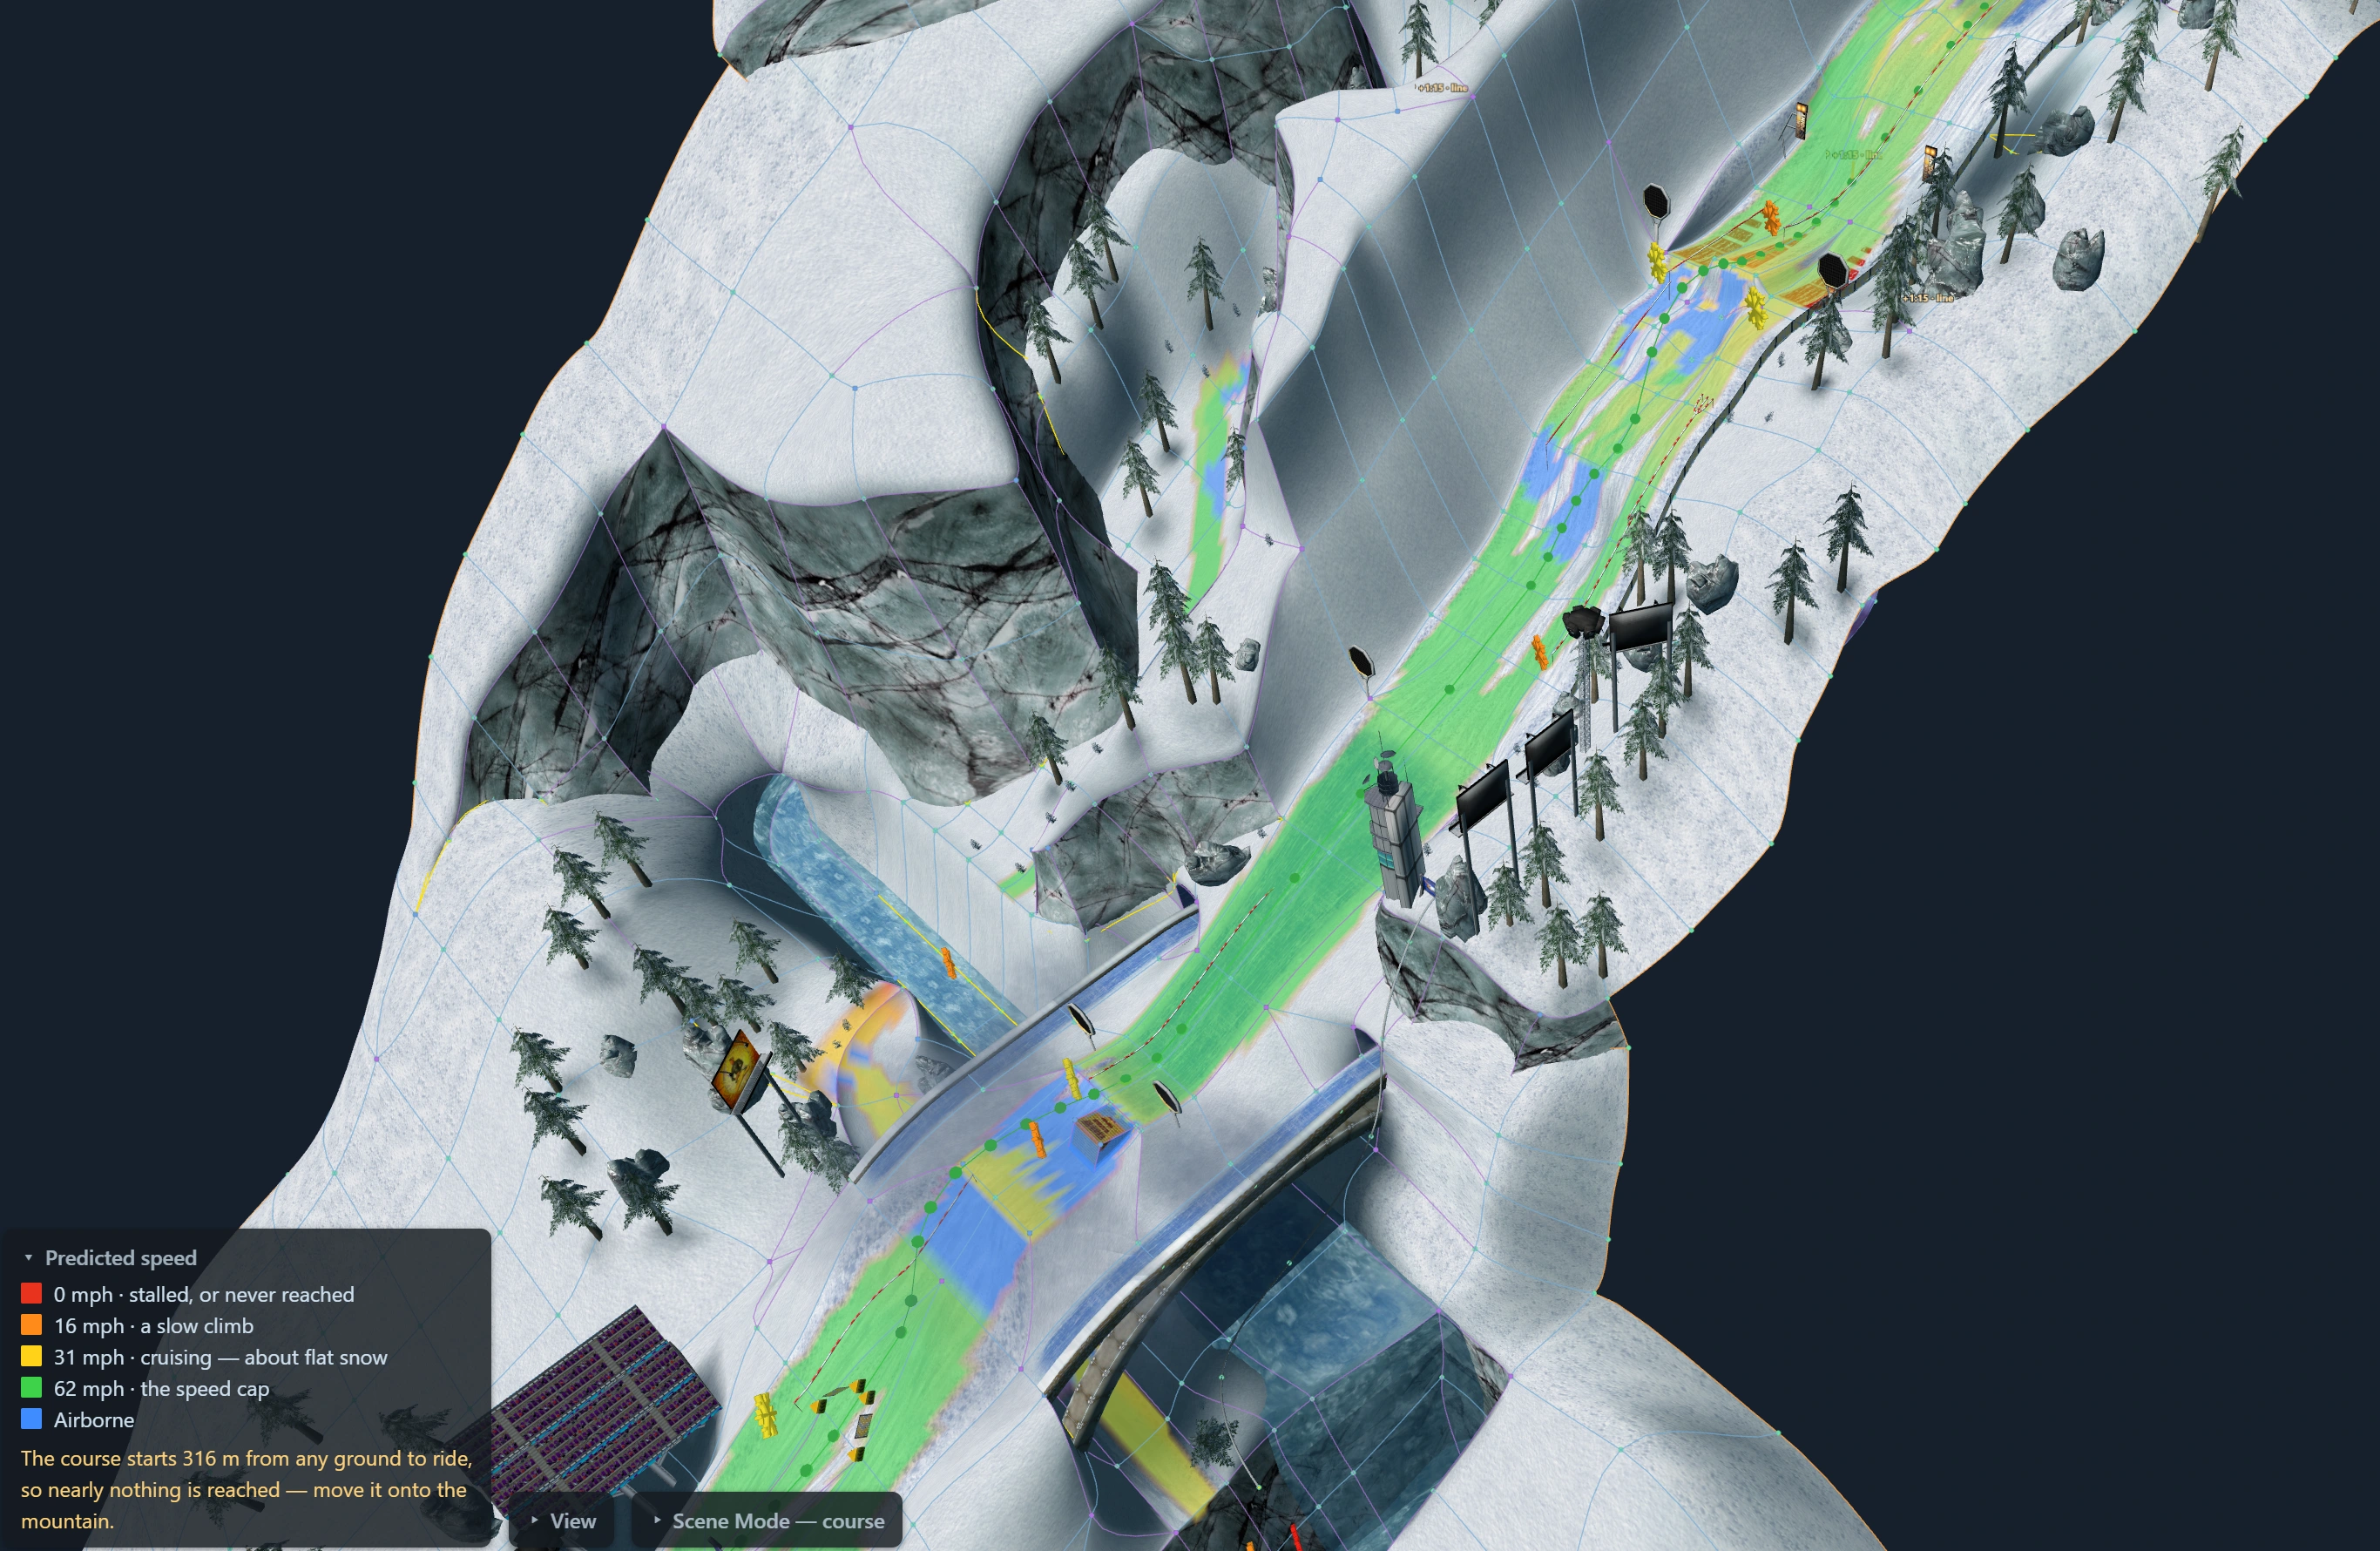
The captured legend progresses from red for stalled or unreached areas through orange and yellow to green for faster movement; blue indicates airborne travel. The values are a model prediction, not measured player speed.
Check the start first. This screenshot warns that the course start is away from rideable ground. Move it onto the mountain before using the prediction to judge the route.
Finish in Test mode. Ride the entry, the feature, and the exit together. A smooth-looking surface still needs a practical check for speed, visibility, and a forgiving landing.